It’s widely said it can’t be done. Well, let’s see about that.
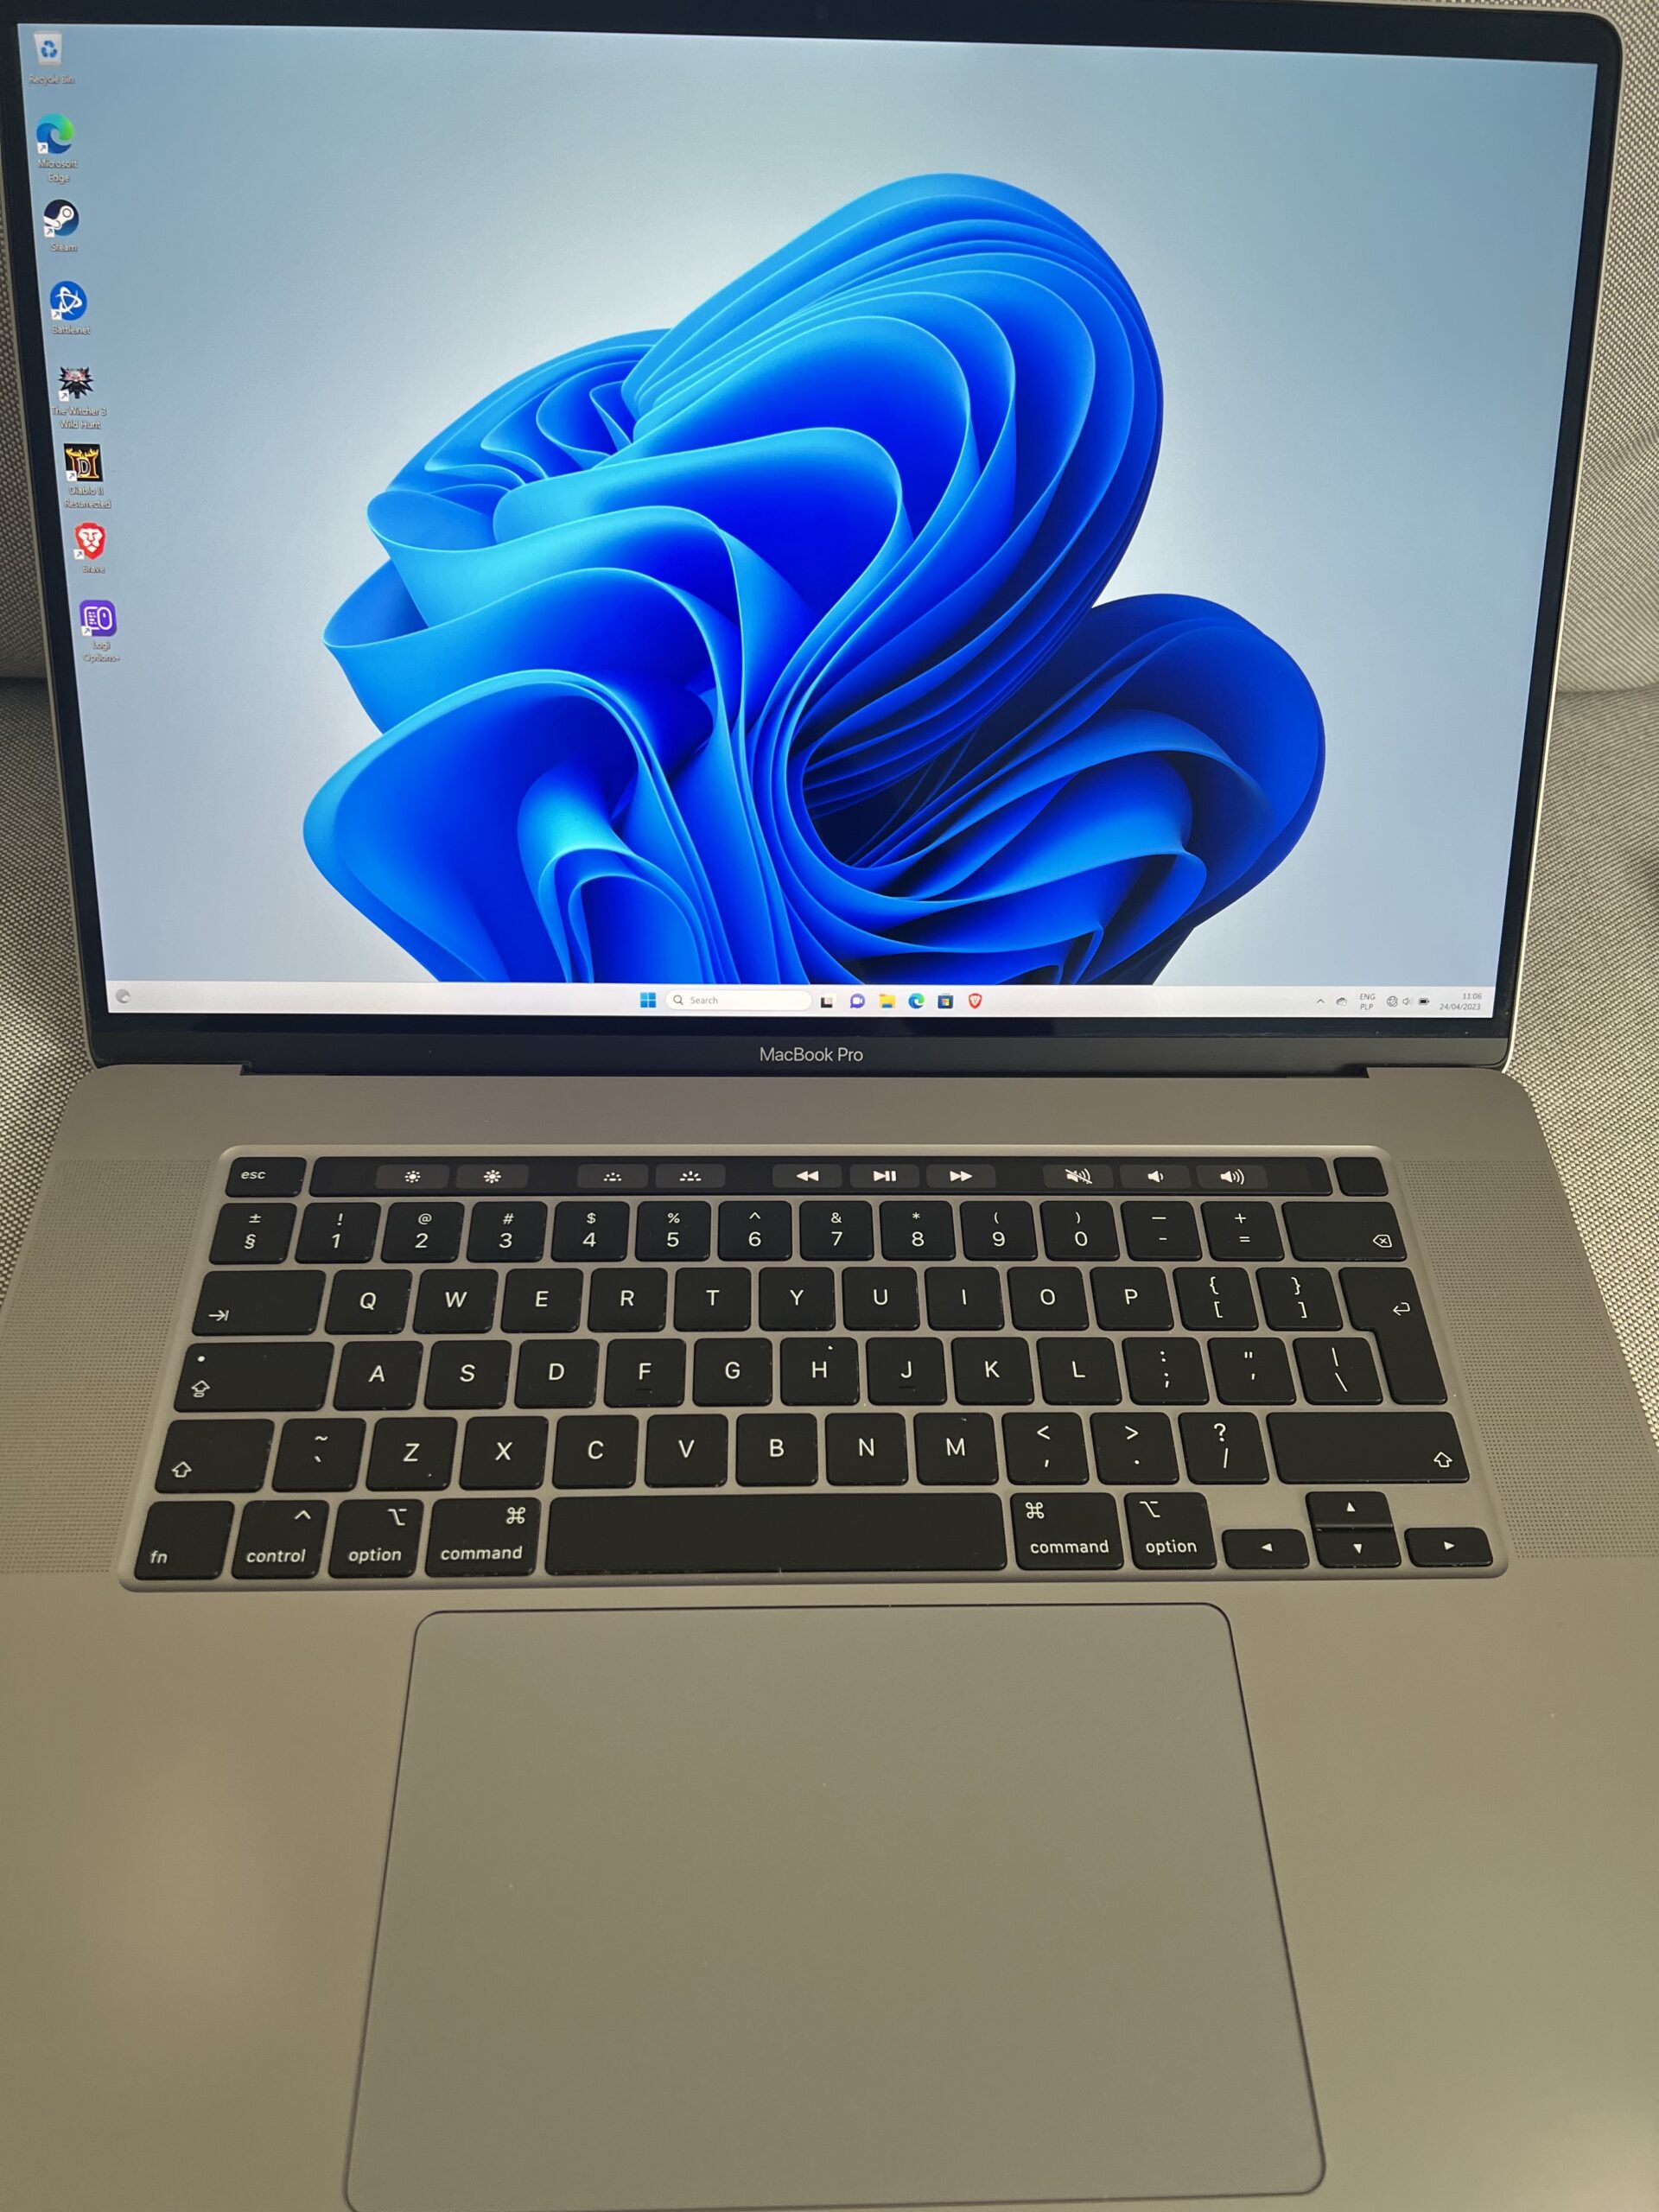
We will install Windows 11 on a Touchbar Intel Macbook Pro 16″ from 2019, with Bootcamp drivers, omitting the dreaded “can’t install the software because it is not currently available” error.
TL;DR
Prerequisits:
- Macbook Pro with supported Intel CPU (basically the only thing that should be missing for you is TPM 2.0)
- A USB Keyboard and Mouse
- A bootable Windows 11 installation USB-drive (if you’re dumb like me, you can create it by first installing Windows 10 on your bootcamp partition)
HOW TO:
- Open Disk Utility
- Create a new Partition (>= 64GB) with FAT filesystem
- Download bypass.reg from https://www.heise.de/select/ct/2021/26/softlinks/ysk5?wt_mc=pred.red.ct.ct262021.028.softlink.softlink (btw. when trying this for the first time, I’ve watched this https://www.youtube.com/watch?v=U9pXGYQszpY great video from c’t 3003, thx Keno and your Team!)
- Copy bypass.reg to your Windows 11 installation drive
- Boot from that USB-drive (hold Option key while the machine boots up and you should see your drive marked as EFI-boot – if you don’t see your drive, boot into recovery mode (hold CMD+R while booting and open Startup Security Utility – then choose Allow booting from external or removable media))
- Connect your USB Keyboard and Mouse (the installer won’t recognize your Macbook keyboard nor the trackpad)
- Once Windows 11 installer has bootet, click on Troubleshooting (don’t start installtion just yet)
- CMD.exe should open, type-in REGEDIT (case doesn’t matter, can be lowercase: regedit)
- From the File menu, choose Import and find your USB-drive (remember the drive letter, mine was F:)
- Open bypass.reg
- Close regedit, but don’t close cmd.exe yet, contrary to all the how to’s on the net, you won’t see an option to Exit and Continue to Windows 11, instead only Troubleshoot and Shutdown will be available
- Change the drive to your USB-drive, remember? For me it was the letter F:, so type-in F:
- Type-in setup.exe and press enter
- Windows 11 installer should appear again
- Now you can proceed with the installation
- Don’t type-in your license key yet (that way you will be able to choose a different Windows installation)
- When asked, choose advanced installation, not the upgrade one (upgrade won’t work and we don’t have anything on our FAT partiotion installed yet anyway)
- When a partition assistant appears, reformat your FAT partition again
- Now you should see that the installer copies files onto the dedicated partition
- When it all finishes, reboot to your windows partition (it should now be visible when you hold Option key while booting)
- Now you have Windows 11 installed but no Bootcamp drivers yet, let’s fix this.
- Download and install 7-zip from https://www.7-zip.org
- Now download Brigadier https://github.com/timsutton/brigadier – it’s a nice little tool, that will identify your Macbook and download the appropriate Bootcamp drivers from Apple’s servers (Apple makes it extra hard to download them manually)
- Open cmd.exe and run brigadier.exe (or just klick twice on it to open, but then you won’t see any errors should they appear)
- Open the newly created Bootcamp folder and find Setup.exe – run it
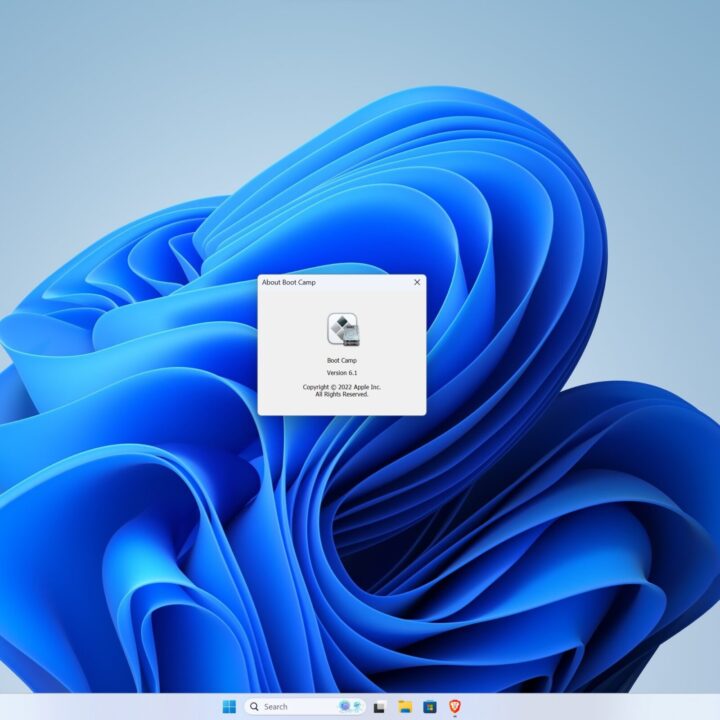
- This will install an initial version of Bootcamp on your Windows 11
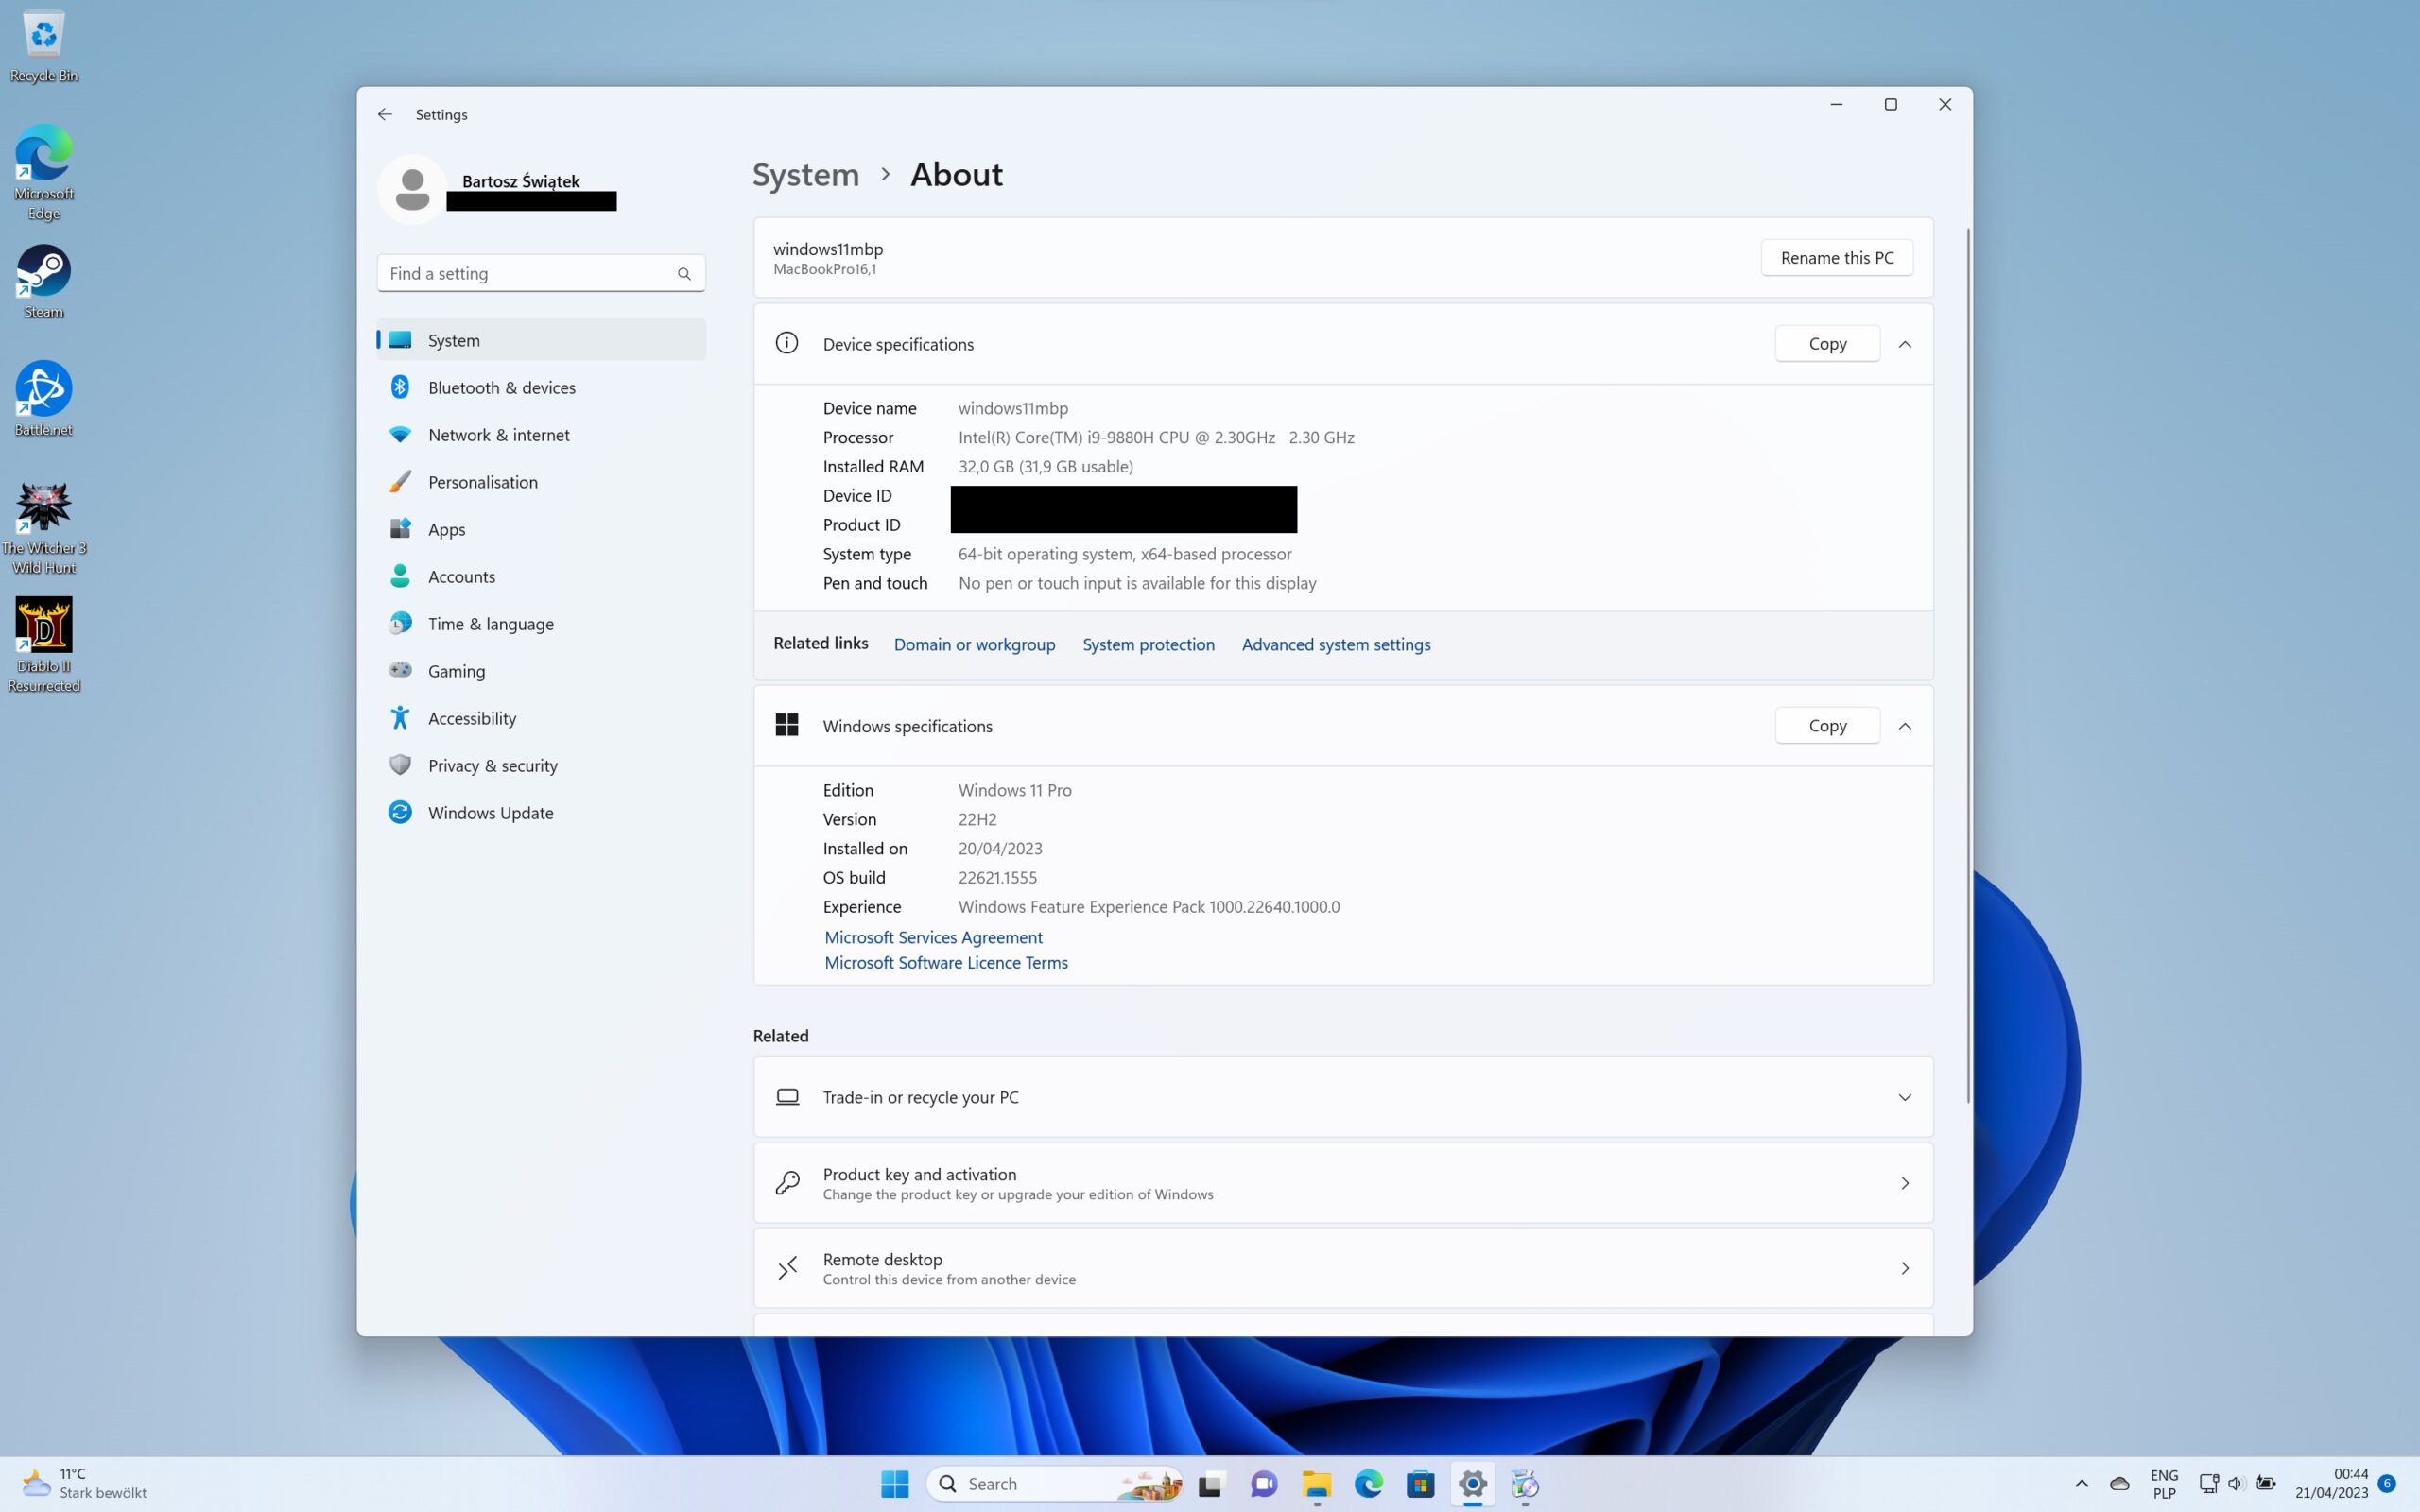
- After you’ve restarted your Windows 11 installation, there will be an Apple Software Update utility available, you need to run it twice in order to install Bootcamp 6.1.13 and 6.1.14 and then Bootcamp 6.1.17 and 6.1.18 – only then will your trackpad, WiFi, bluetooth etc. be fully recognized.
That’s it. Enjoy.